How to Make a Neon Sign
Neon Tubing has been a popular solution for both creating and accenting signs for over 100 years. Today the process still requires a specialist who has been trained in crafting them.
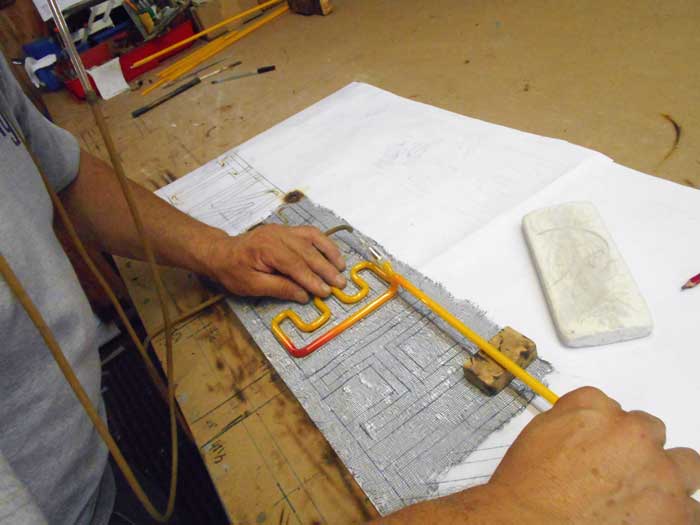
1. Creating a Pattern
The process begins with laying down a pattern to form the tubing over.
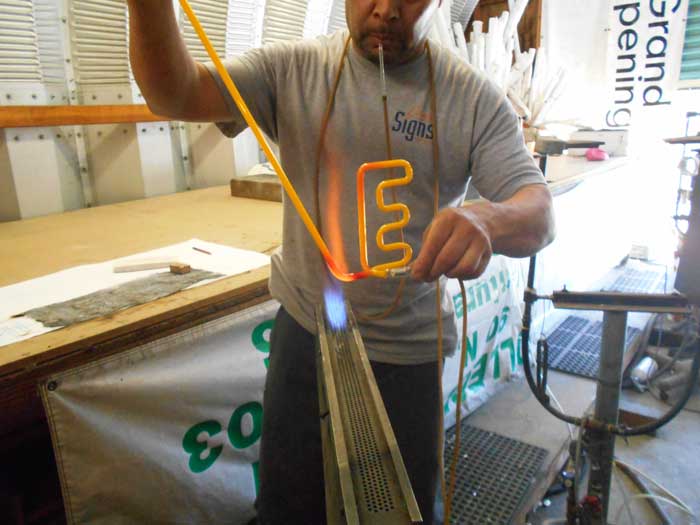
2. Bending the Glass
The glass tubing is held over a flame until it is hot enough to be pliable.
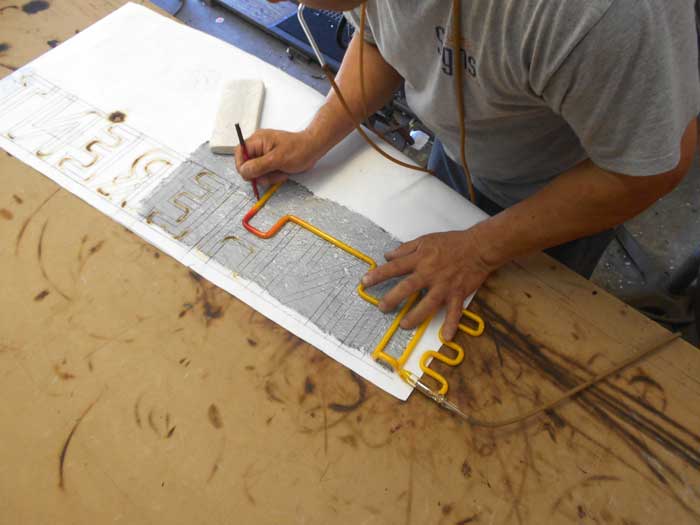
3. Forming the Glass
The glass is then set over the pattern, where it is quickly, but gently bent into the intended shape.
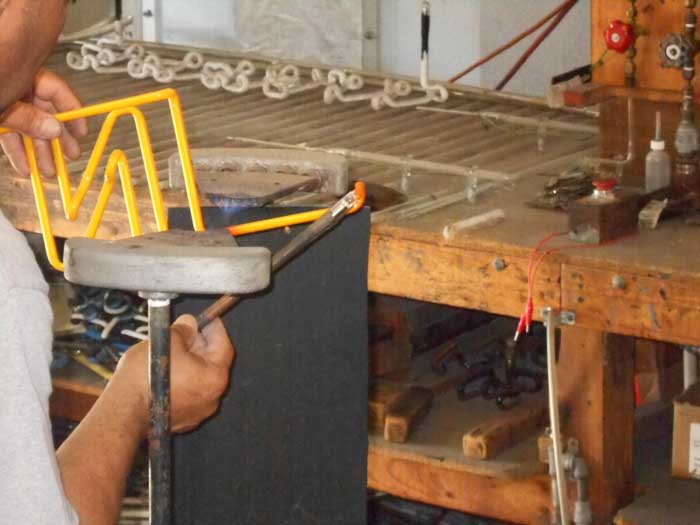
4. Adding Electrodes
Once the tubing is fully formed, it is capped with electrodes. These electrodes are are the connection point for an electricity source. Each separate tube that make up the sign requires these connection points.
5. Bombarding
This is a technique used to heat all of the impurities out of the glass. Once complete, all of the air is removed from the tubing to create a vacuum.
6. Gas
The vacuum is then filled with either neon or argon gas vapor and sealed. Neon gas will produce colors in ranges of red, while mercury produces colors in the blue range. The tubing itself is sometimes coated inside with a powder called phosphor, which gives the tube a different color when lit, depending on which gas it is filled with.
7. The Tubing is complete, and ready to be mounted.
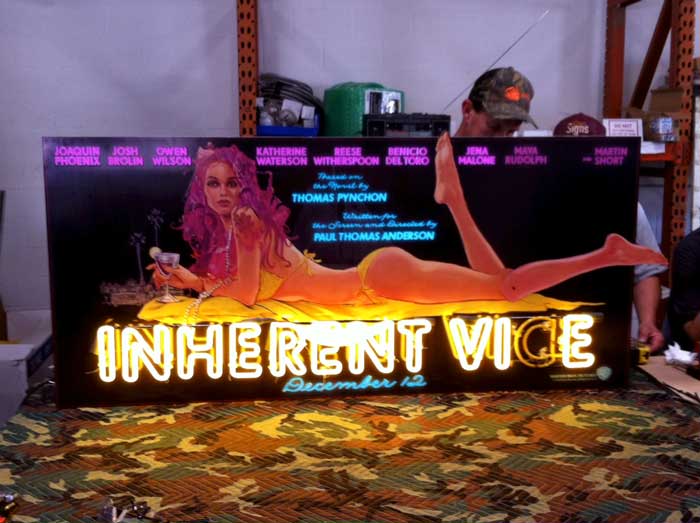
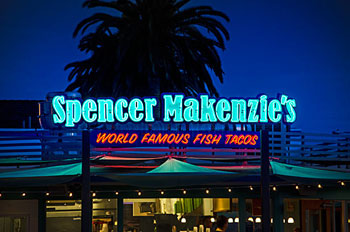
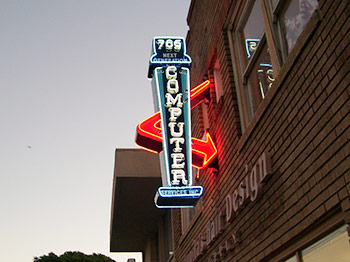
While neon signs briefly fell out of fashion, they have made a resurgence particularly in the art and architecture world. This has also brought them back to the forefront of commercial signs, because their steady, colorful light has a piercing quality and therefore a high visual impact.
Here in Ventura, there is a particular emphasis on commercial neon signs because of the historic feel of the city. Neon signs are both current and reminiscent, and when crafted in a certain way they lend themselves nicely to the nostalgic tone of the Ventura skyline.


